If you’re anything like me, you love to find difficult challenges early on in Soulsborne games, in the hope of earning powerful rewards that will help you in your journey.
To that end, in my current first playthrough of Elden Ring, I chose the Stonesword Key as my starting keepsake, lured by it’s promise of opening secret areas.
I didn’t have to wait long. Only a few minutes into my game I arrived at the Stranded Graveyard site of grace, to the right of which was a large foggy wall that I was unable to traverse. That is until I interacted with a small imp statue nearby, breaking it’s seal with my Stonesword Key, which was lost in the process.
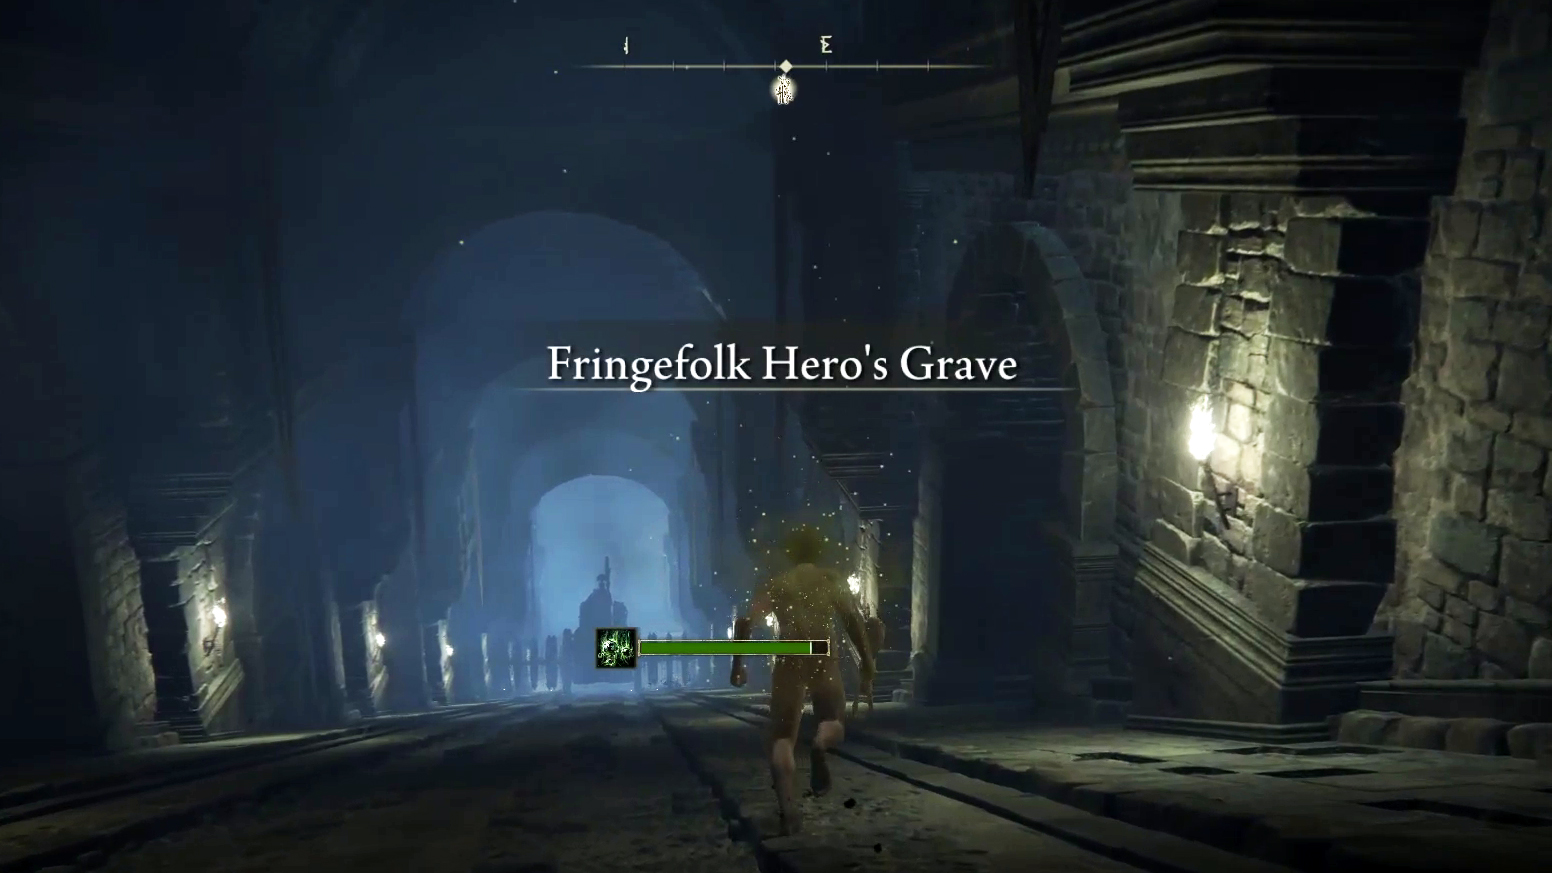
This opened up to me the entrance to Fringefolk Hero’s Grave, perhaps the earliest accessible poison swamp-esque area in any previous From Software outing.

What followed was a joyful and excruciating half an hour of try and failing to make it through the ensuing labyrinth, being crushed to death by a horrifying wheel of spikes, sliced to death by phantom warriors and a couple of times just dying of good old poison.
The end result when I did make it through Fringefolk Hero’s Grave, and traversed the fog at it’s end, was the realisation that unless you’re some godlike master of gaming (not me unfortunately), there’s pretty much no way you’re going to be able to defeat the boss at the end of the dungeon as a level 1 wretch with a wooden club and no shield. RIP my loin-cloth clad butt.
Because I was filming these attempts though, I thought it may be useful to share the video of my final successful run, and an explanation of how best to make it, for those of you further on in your journey who may be attempting this challenge with a better developed character than me.
How To Easily Make It Through Fringefolk Hero’s Grave
Time needed: 5 minutes
Here’s how to make it past the giant wheel of death, through Fringefolk Hero’s Grave to the boss at the bottom of the area.
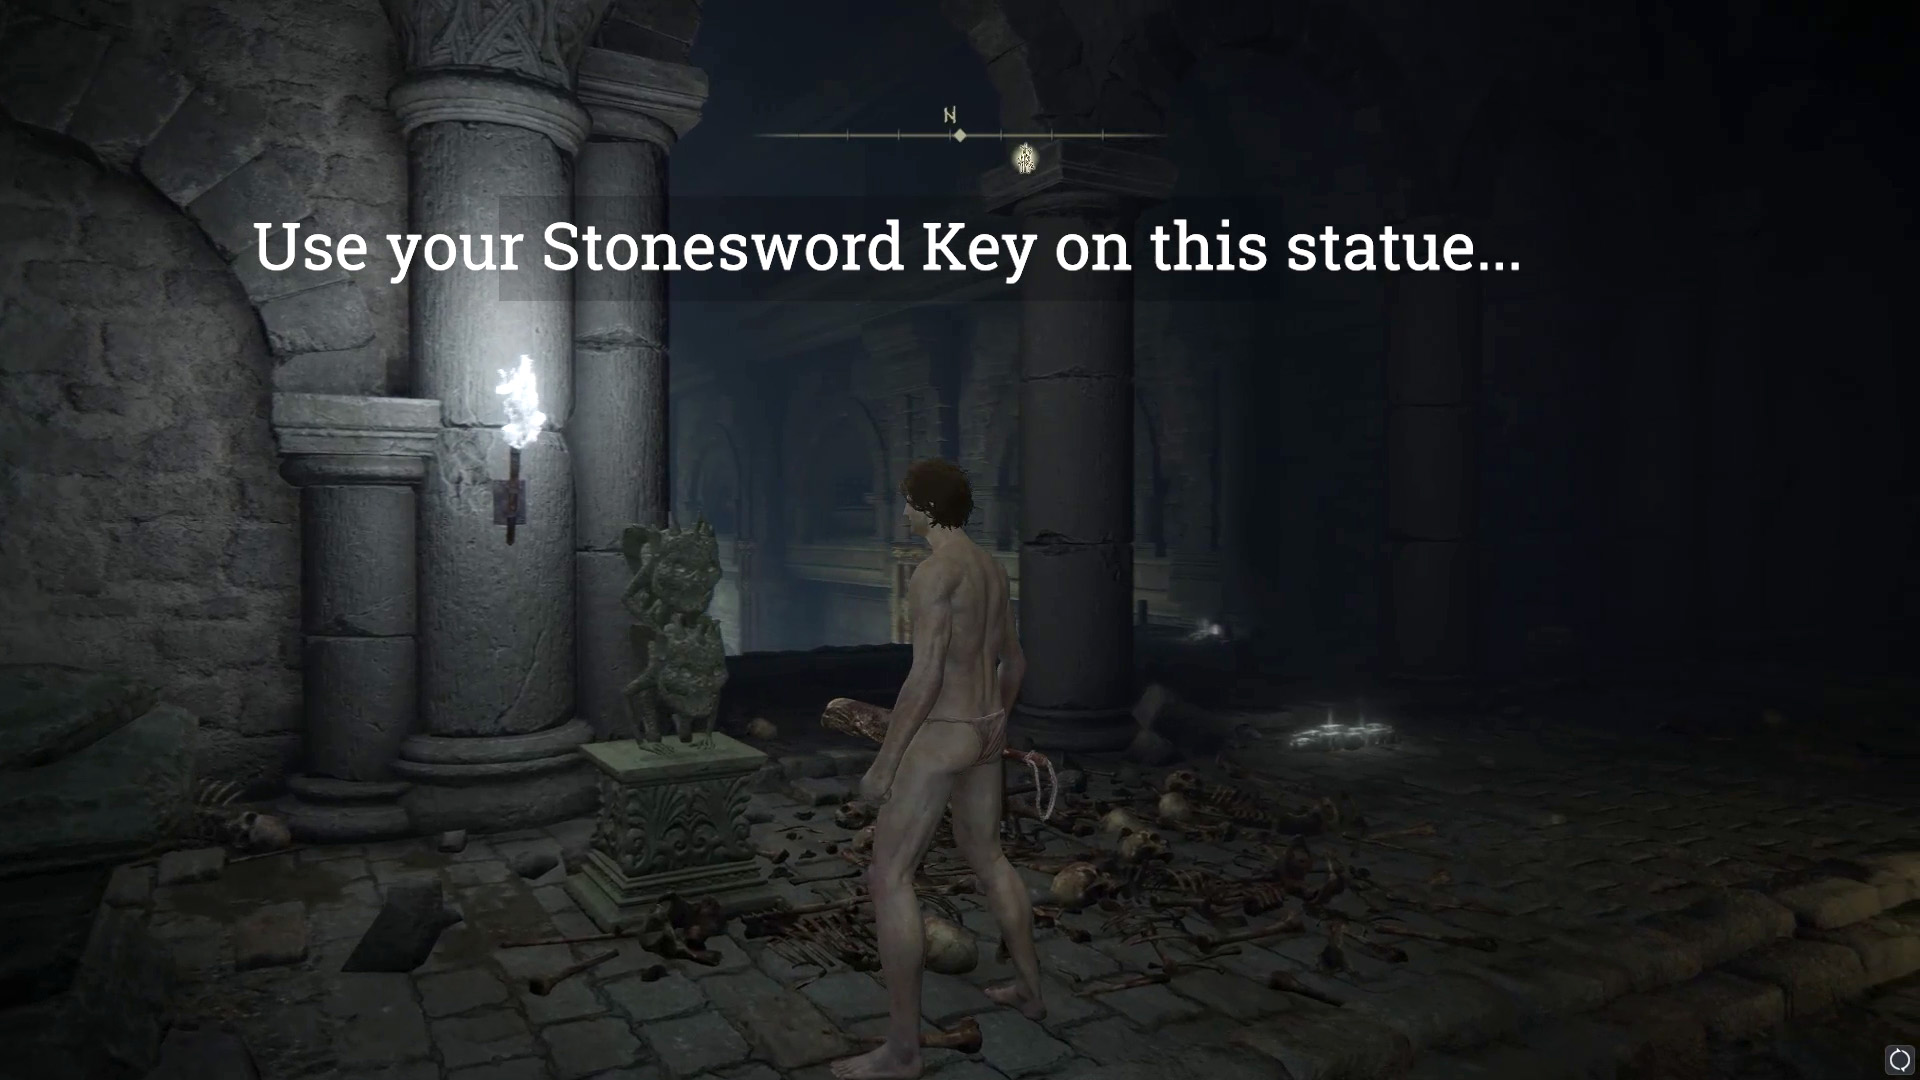
- Use a Stonesword Key on the imp statue at the Stranded Graveyard site of grace to lift the fog wall nearby.
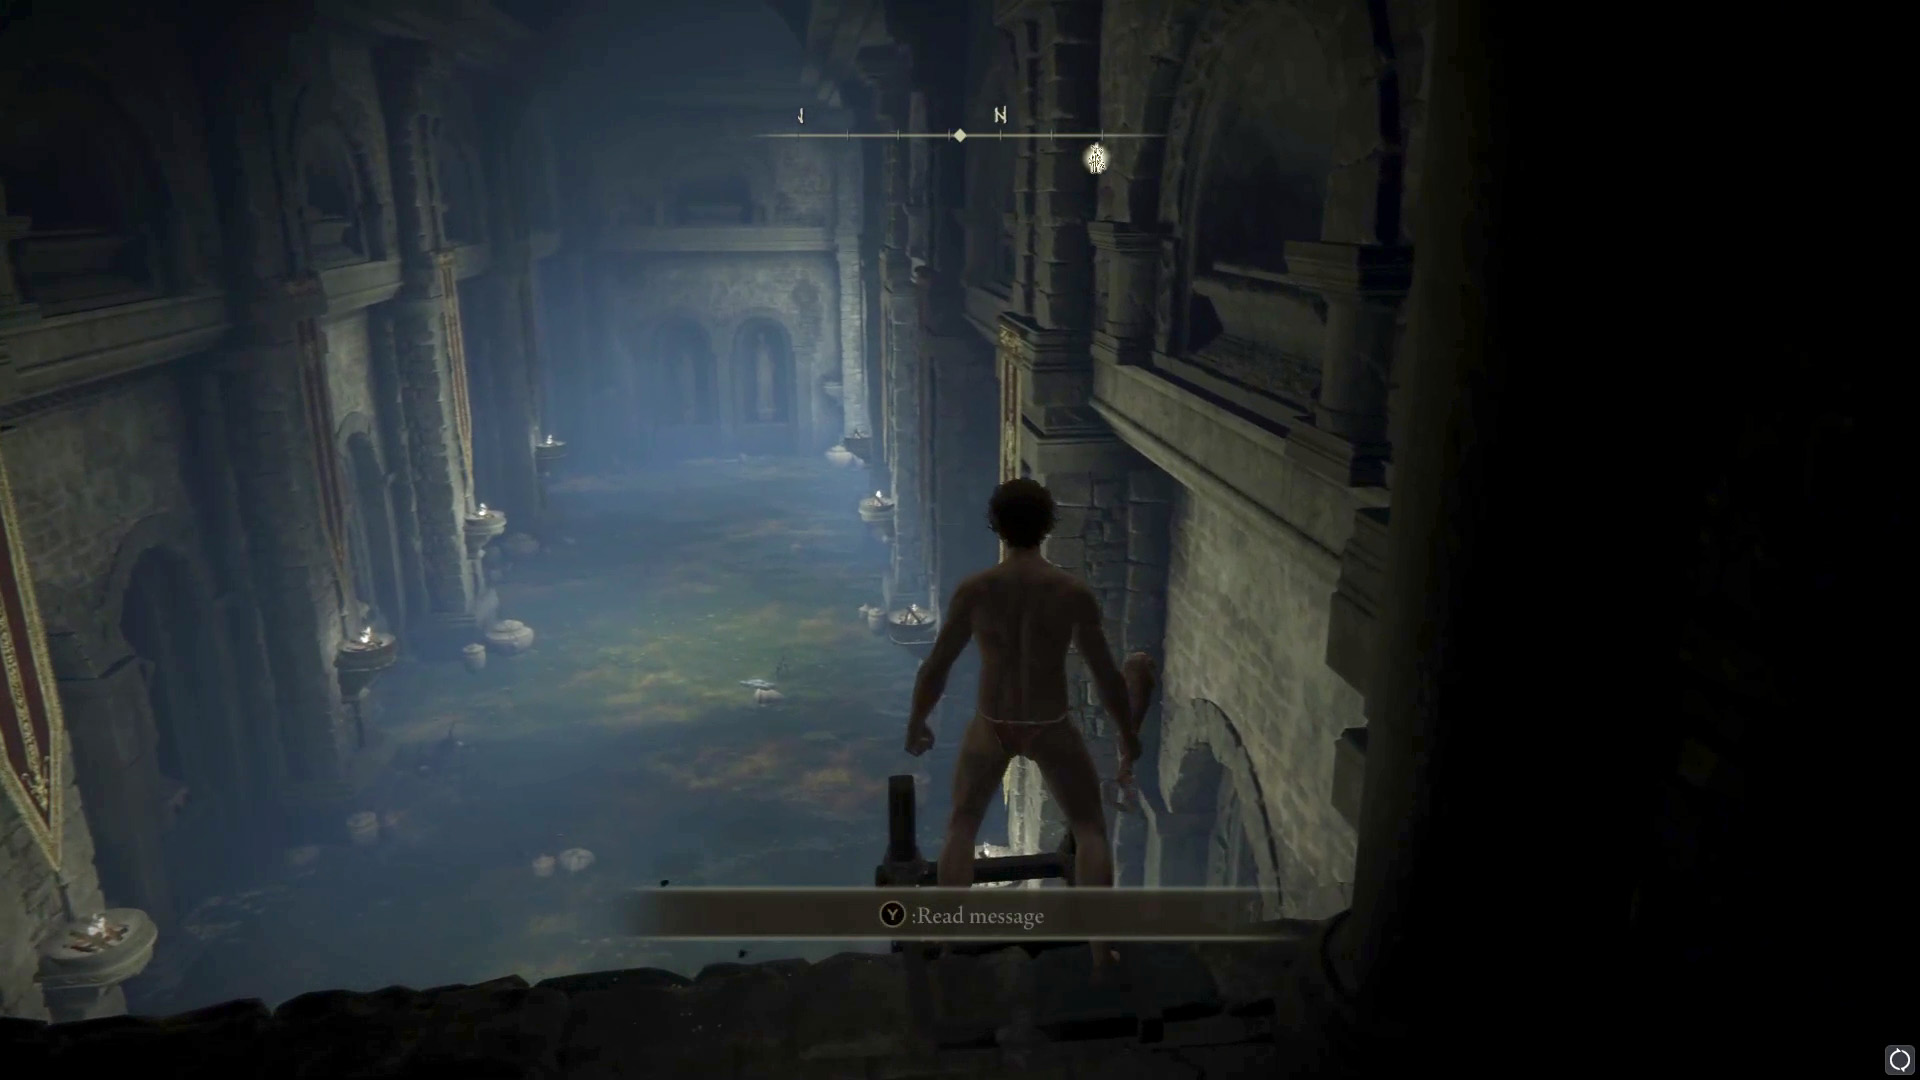
- Climb down the ladder and walk through the swamp to the ramp down at the end.
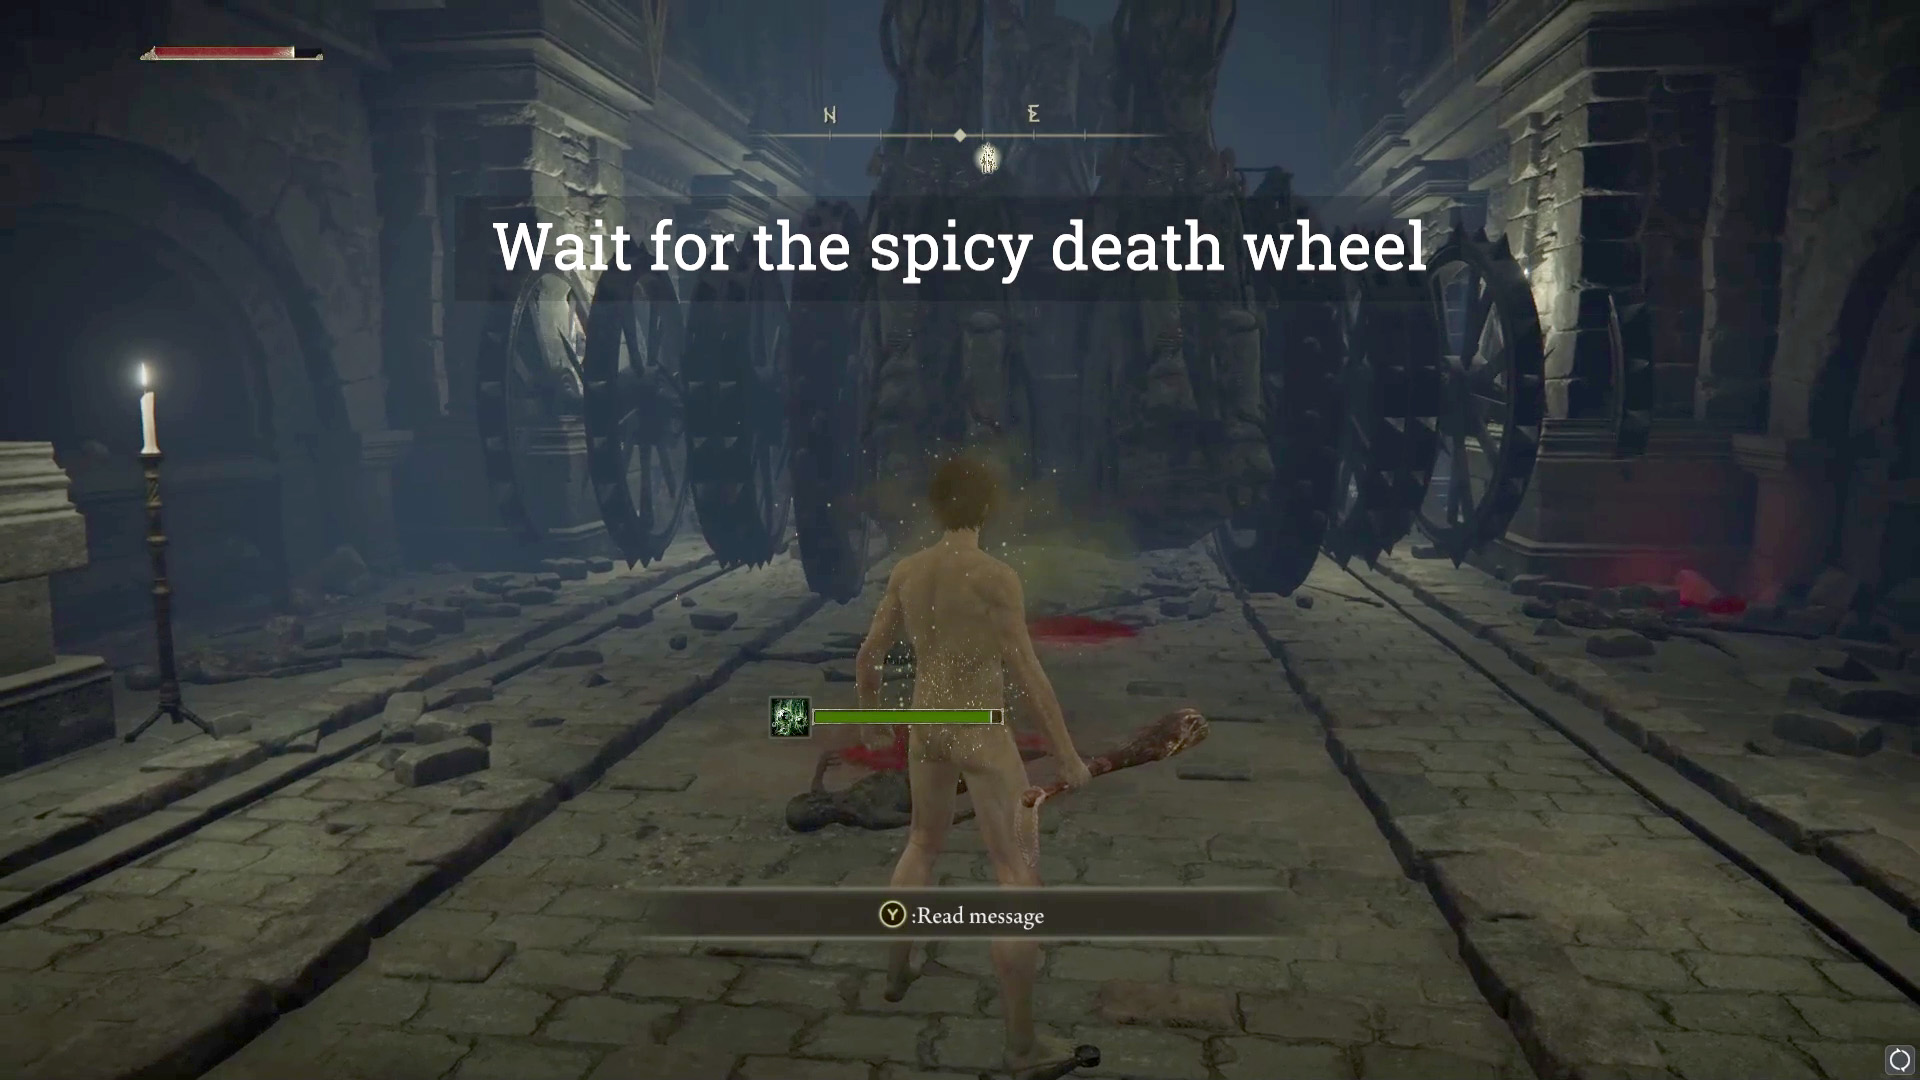
- Wait at the top of the ramp for the brain crushing wheel to arrive and then leave again.
- Follow the wheel down the ramp and turn right into the first archway.
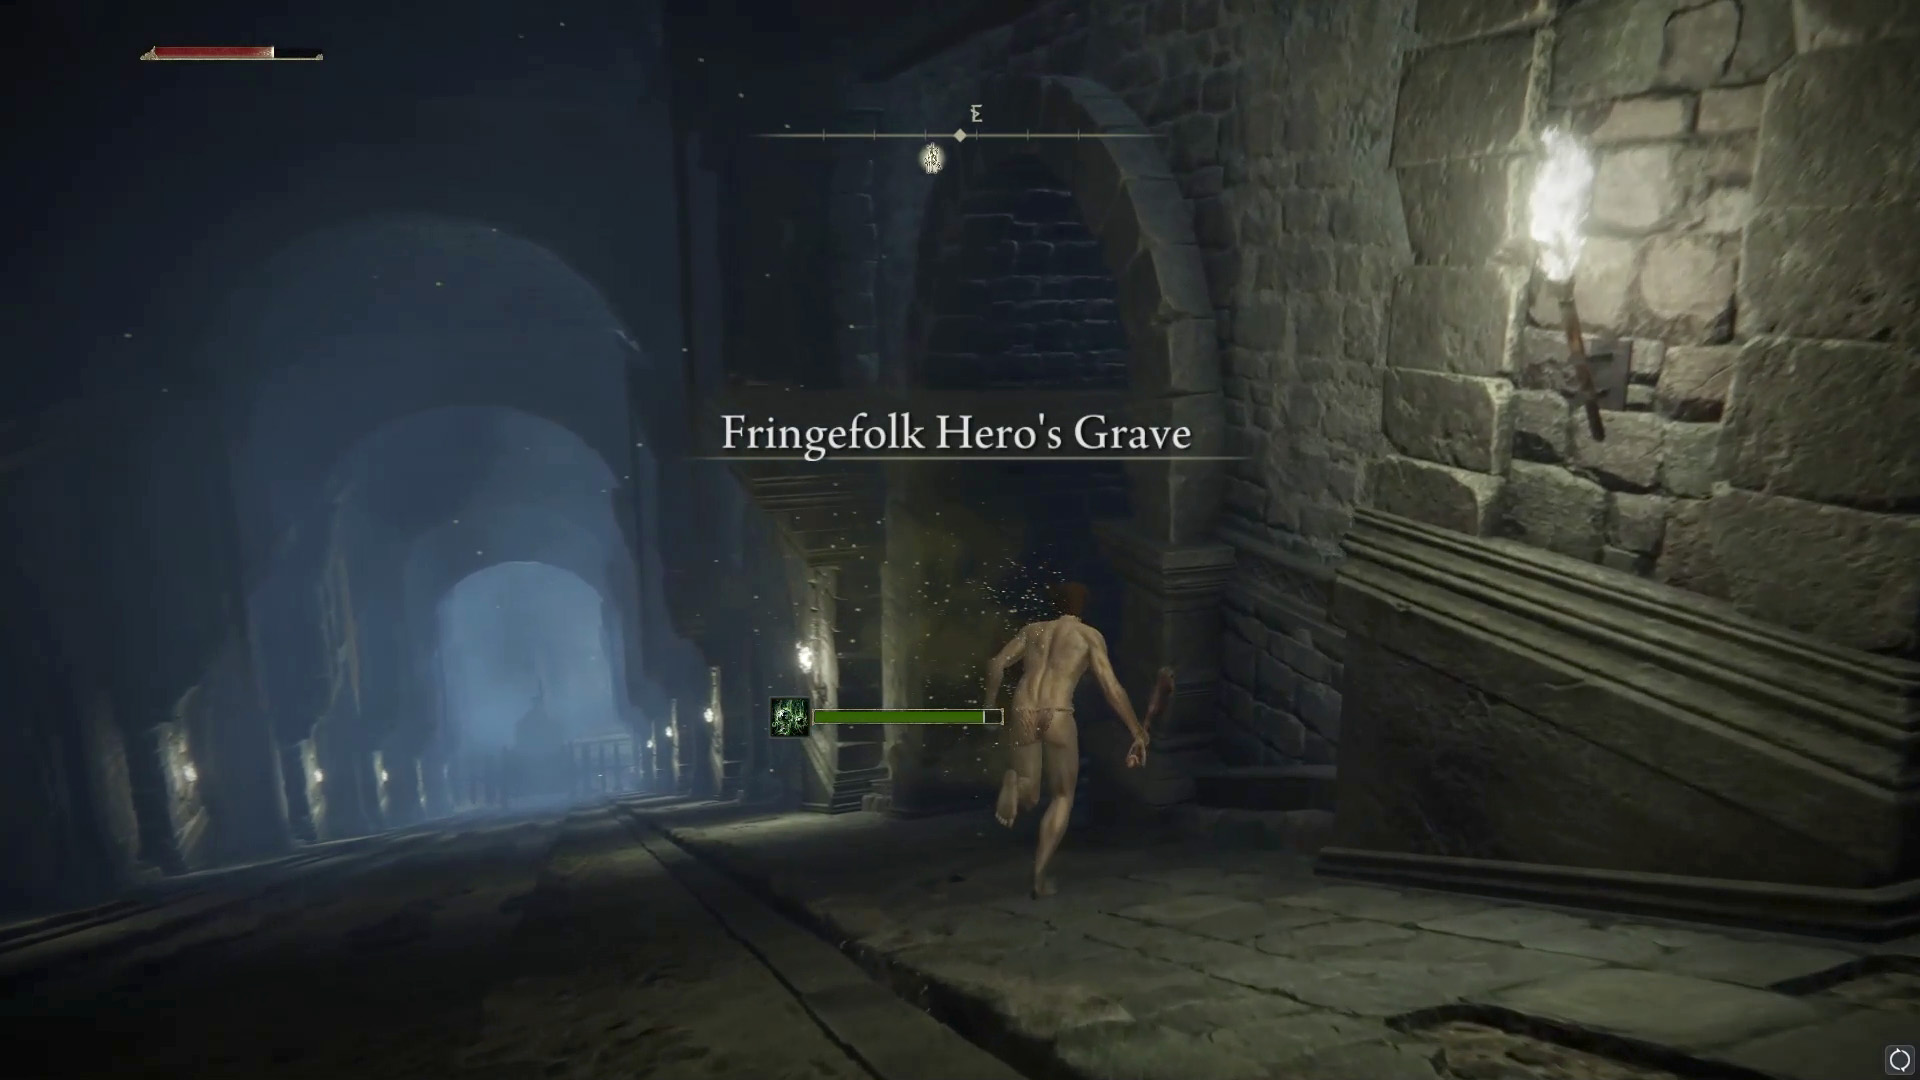
- Wait for the wheel to pass and then repeat this manoeuvre, running down again to the next archway on the right. In this archway there’ll be a ghostly dude with a crossbow opposite, so be careful of his ranged attacks.

- Repeat the move again. In the third archway you’ll find one of the ghostly dudes waiting for you. You can kill him if you like, but it’s easier to just walk past and drop down onto the pathway below.
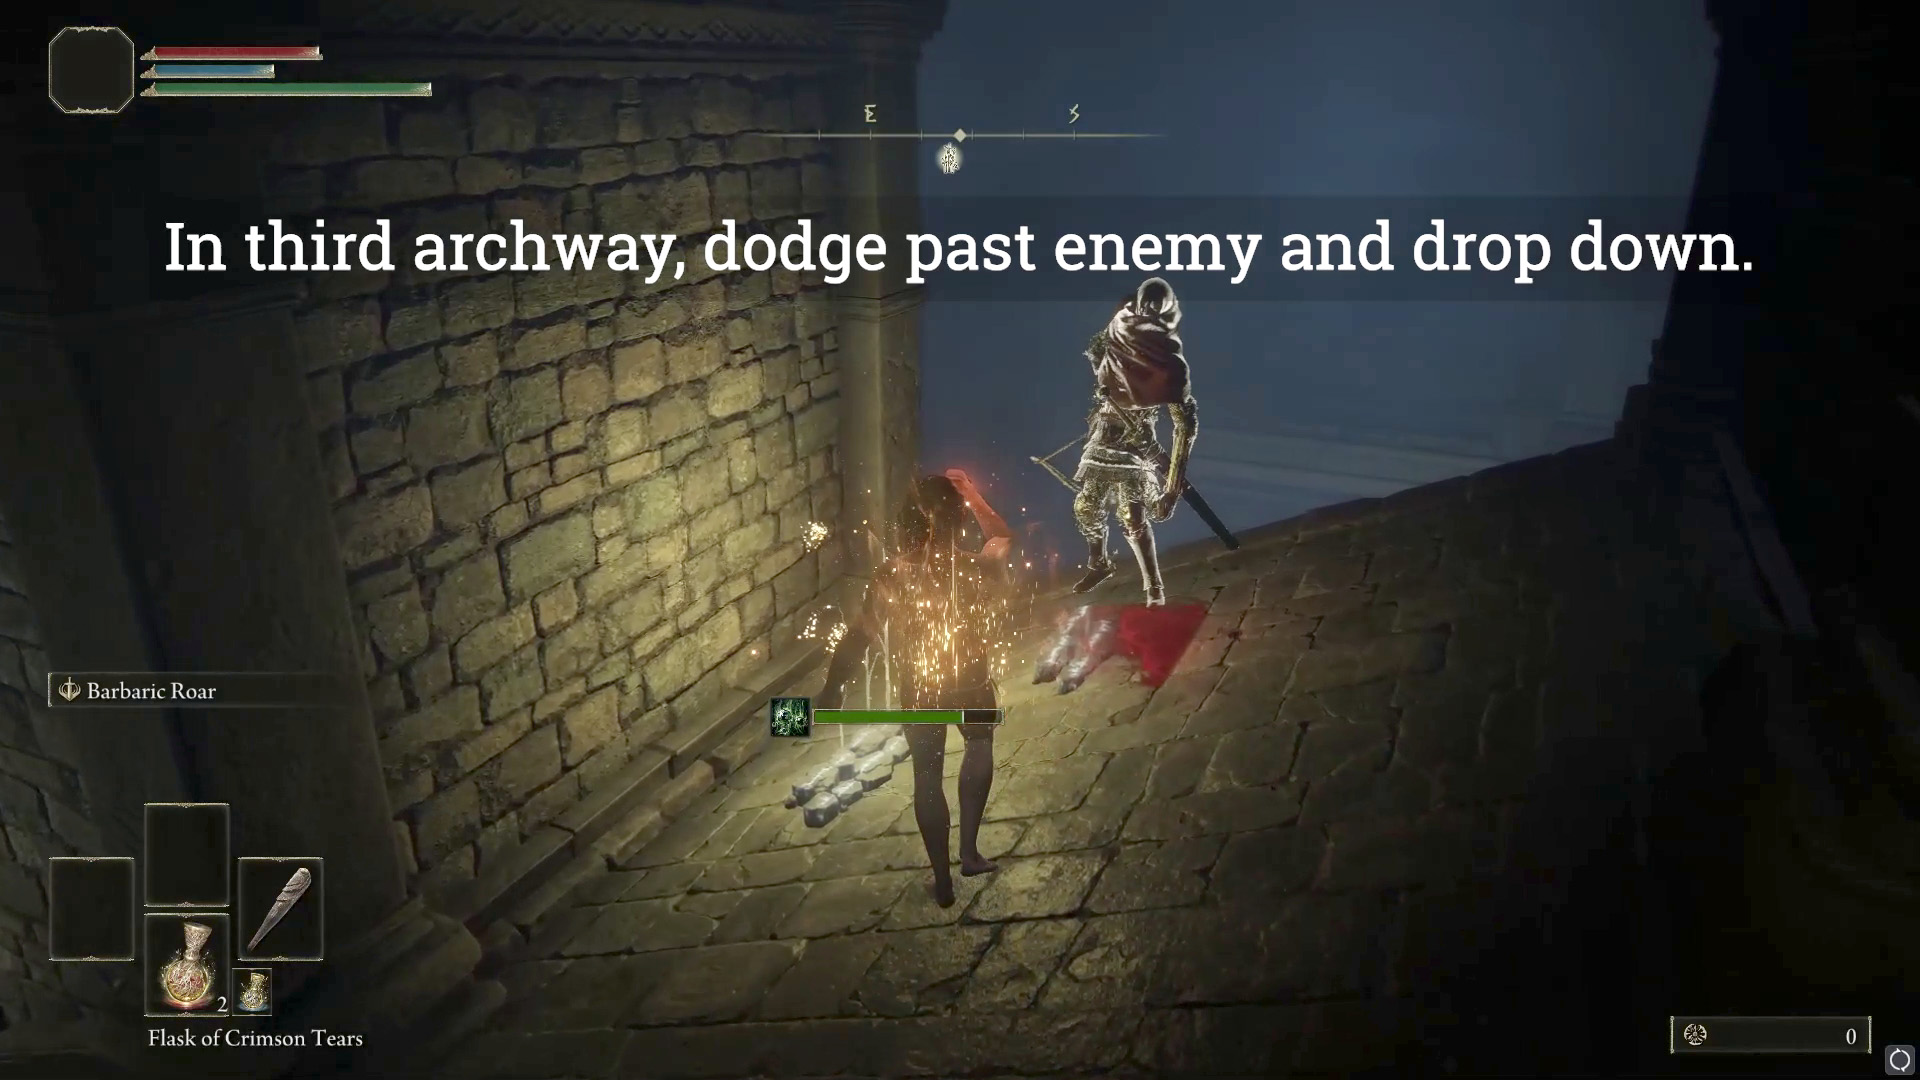
- When you drop down, just keep running down the ramp until you get to the bottom, where you turn left.

- You can turn into the first doorway on your left if you like, but be careful of the guy right behind you. dodge him and keep running down.

- Keep dodging all the enemies on your way down until you get to the bottom of the ramp.
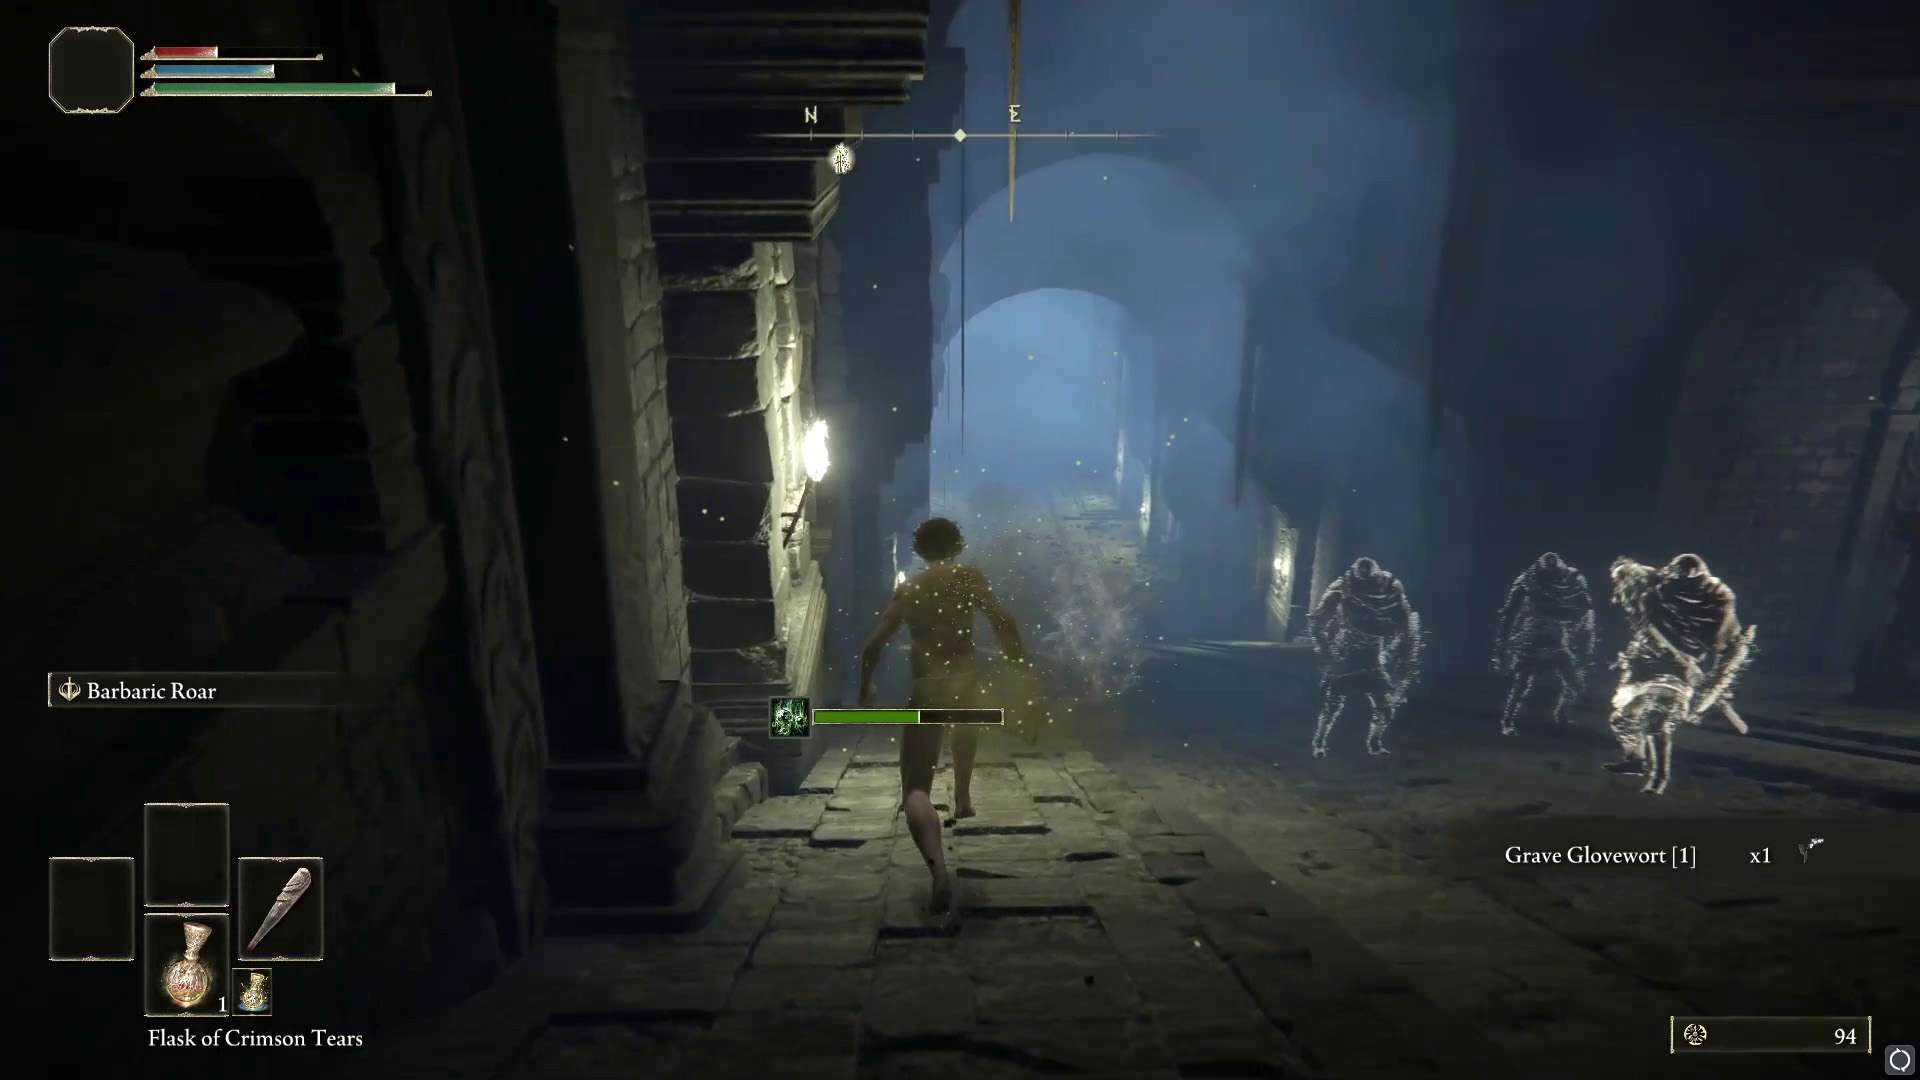
- Turn into the archway on your right where you’ll find a wall of fog. Traverse at your own risk! (you probably won’t be able to defeat the boss within if you’re a level 1 wretch like I was).

You can check out my other Elden Ring articles here:
- Elden Ring: Thops Questline [Complete Guide] + Maps
- Elden Ring: Cliffbottom Catacombs [Ultimate Guide]
- Elden Ring: How To Make It Safely Down to Limgrave Beach and Find The Haligdrake Talisman
- Elden Ring: Stormfoot Catacombs Walkthrough + Guide
- Elden Ring: Minor Erdtree Catacombs [Ultimate Guide]
- Elden Ring: Village of the Albinaurics Walkthrough [Complete Guide]
Feel like supporting me to write more game guides?
If you’ve found any of my guides helpful and you want to shout me a coffee to help power future work, feel free to do so through Ko-Fi below 🙂

